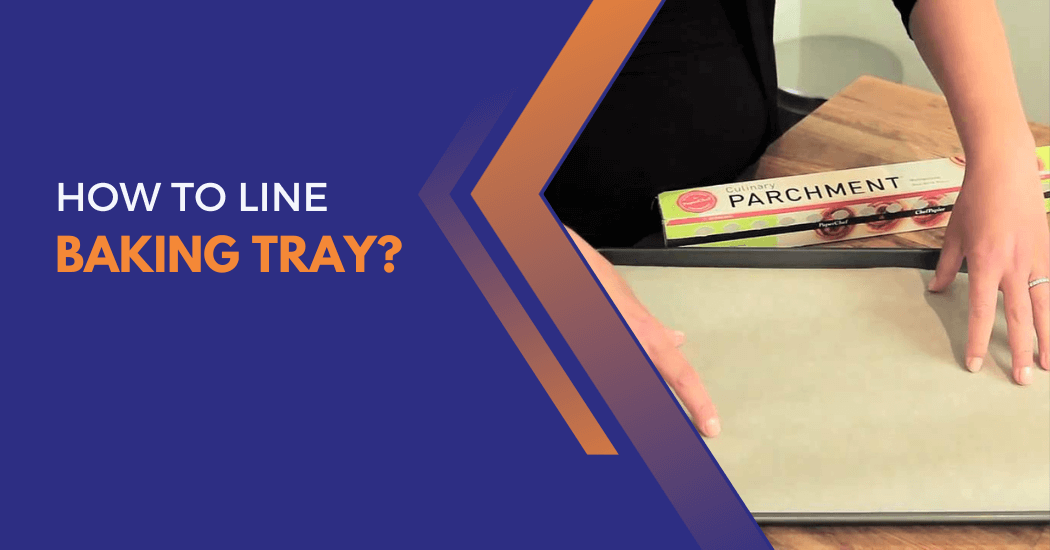
How to line baking tray with baking paper?
Lining a baking tray is a fundamental skill that every home baker should master. Whether you’re a novice in the kitchen or a seasoned pro, knowing how to properly line a baking tray is essential for ensuring your baked goods come out perfectly every time. It’s a straightforward process that can make a world of difference in the outcome of your recipes.
In this guide, we will take you through the steps and techniques to line a baking tray effectively, from choosing the right materials to tips for preventing sticking and simplifying cleanup.
Whether you’re making cookies, brownies or roasting vegetables, understanding this basic technique will set you on the path to baking success.
So, let’s get started and learn how to line a baking tray like a pro!
How to line a baking tray?
Lining a baking tray is a simple and quick process that can save you time and hassle in the kitchen.
Here are the steps to follow:
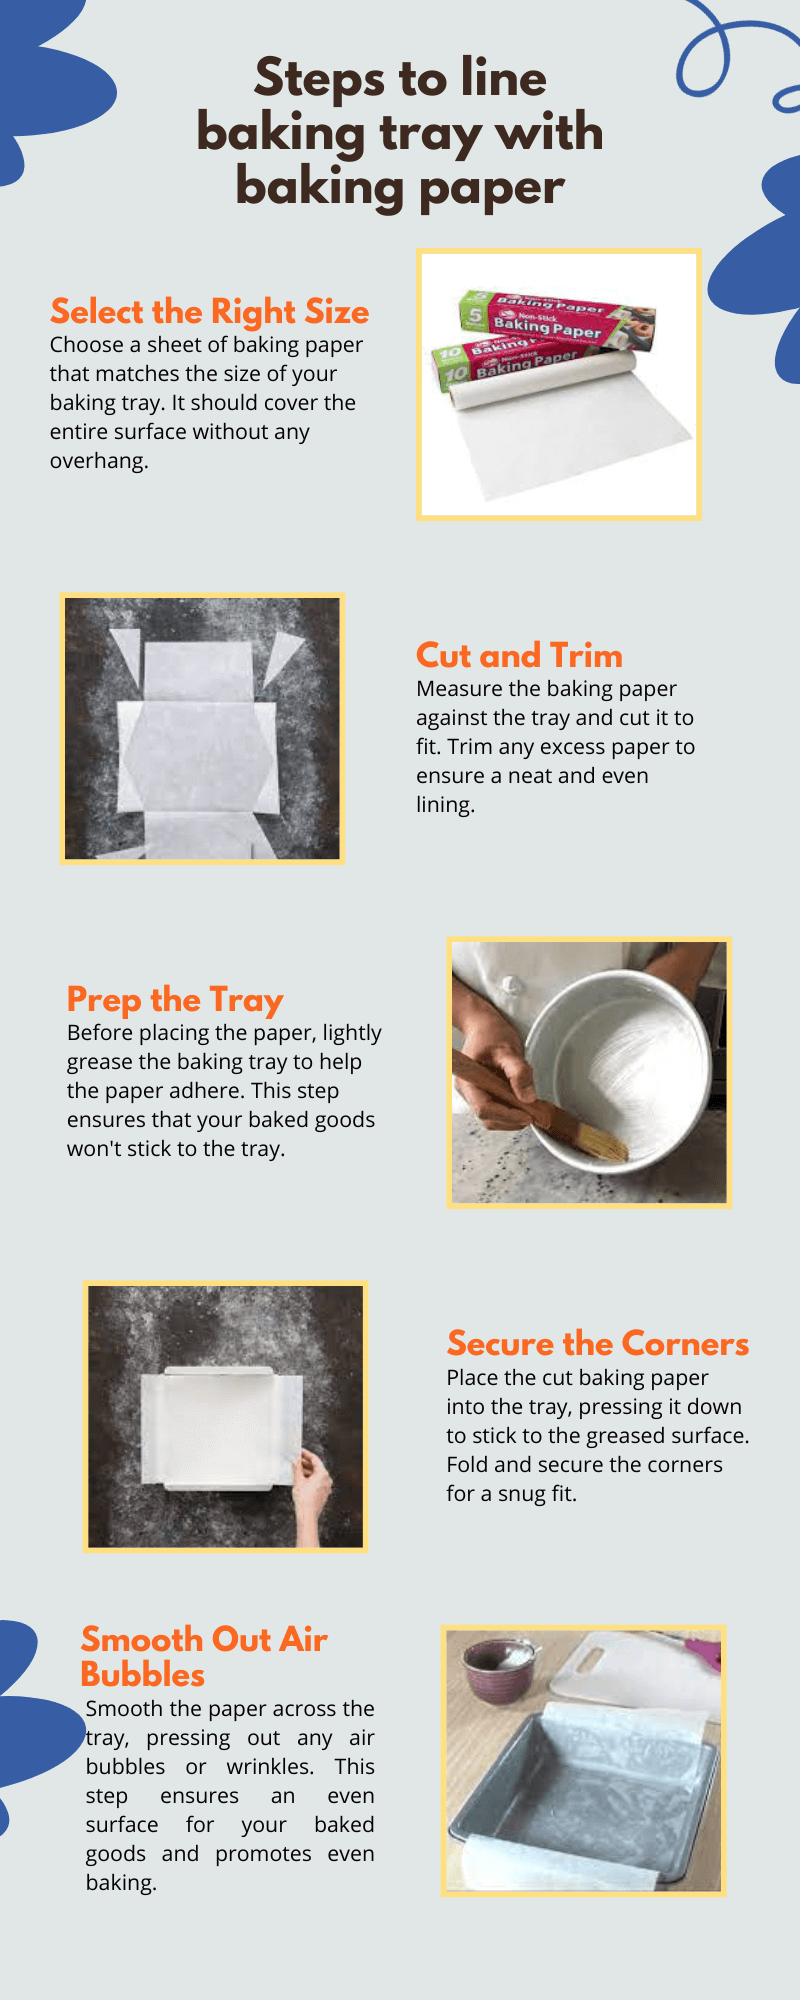
- Choose the right material for lining: The most commonly used materials for lining a baking tray include printed tray liner like parchment paper, wax paper, aluminum foil and silicone mats. Each has its advantages, so choose the one that best suits your needs and the recipe you’re making.
- Measure and cut: Once you’ve chosen your lining material, measure out enough to cover the entire bottom of the baking tray with a small overlap on all sides. Use scissors or a sharp knife to cut the material to size.
- Place in the tray: Carefully place the lining material into the baking tray, smoothing out any wrinkles or creases.
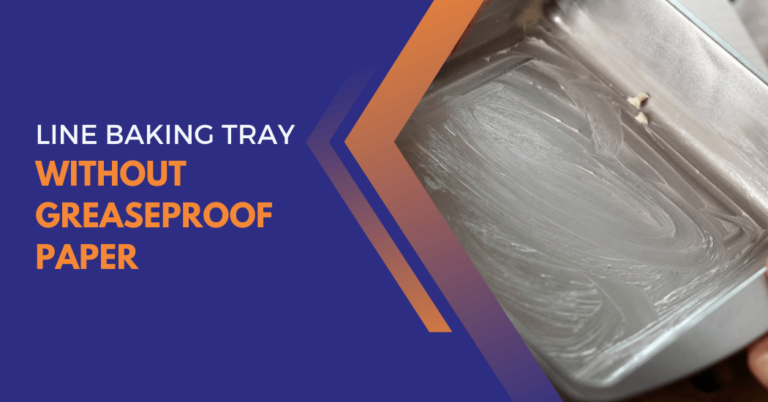
- Grease (optional): Depending on the recipe you’re making, you may want to grease the lining before adding your batter or dough. This will help prevent sticking and make cleanup even easier.
- Add your ingredients: Now that your baking tray is lined, you can add your ingredients as instructed in the recipe.
- Bake as directed: Follow the recipe’s instructions for baking time and temperature, adjusting as needed for your oven.
- Remove and cool: Once your baked goods are done, carefully remove them from the tray using the lining material to lift them out. Let them cool on a wire rack before serving or storing.
Advantages of lining a baking tray
Now that you know how to line a baking tray, let’s take a look at some of the advantages of this simple technique:
- Prevents sticking: Lining a baking tray can help prevent ingredients from sticking, making it easier to remove your baked goods without any damage.
- Easy cleanup: By lining your tray, you can easily remove any residue or mess without having to scrub or soak the tray.
- Saves time and effort: With a lined baking tray, you can spend less time cleaning up and more time enjoying your delicious treats!
- Protects the tray: Lining your baking tray can also help protect it from any scratches or damage caused by metal utensils or sharp ingredients.
- Customizable: Depending on the recipe or your preferences, you can choose different types of lining materials to best suit your needs.
By following these simple steps and tips for lining a baking tray, you can achieve perfect results every time.
Tips for lining success
Here are some additional tips and tricks for successfully lining a baking tray:
- Use the right size: Make sure to use a baking tray that is appropriate for the recipe you’re making. Using a smaller or larger tray than recommended can affect the outcome.
- Overlap the edges: Allow the lining material to slightly overlap the edges of the tray. This will make it easier to lift out your baked goods.
- Don’t be afraid to double up: For particularly sticky or messy recipes, consider using a double layer of lining material for added protection.
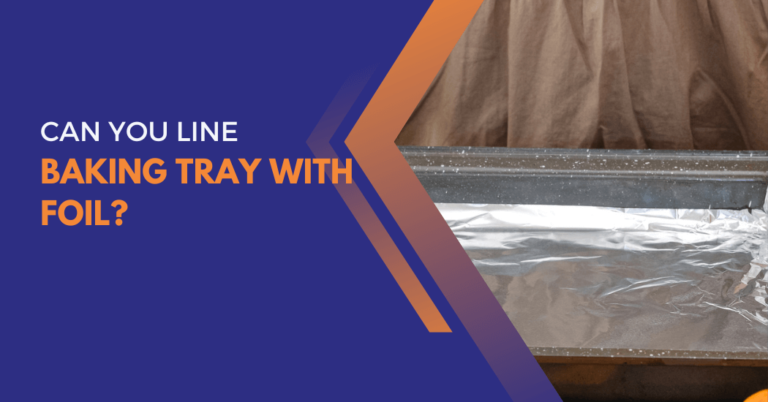
- Reuse foil: Unlike baking paper, foil can be reused multiple times if cleaned and folded properly. This can save you money and reduce waste.
- Use a ruler: For perfectly straight edges, use a ruler to measure and cut your lining material.
- Clean-up is a breeze: By properly lining your baking tray, you’ll save yourself from having to scrub and soak off any stuck-on residue. Simply remove the lining and discard it for easy cleanup!
With these tips and techniques, you can confidently line a baking tray for any recipe like a pro.
Considerations for lining a baking tray with baking paper
Baking paper, also known as parchment paper, is a popular choice for lining baking trays due to its non-stick properties and easy cleanup.
But here are some tips and things to consider when using it:
- Choose the right side: Baking paper typically has one shiny side and one dull side. The shiny side is usually coated with silicone, so this should be facing up to prevent sticking.
- Don’t reuse: Baking paper should only be used once, as it can become brittle and prone to tearing after being used.
- Use precut sheets: Consider buying pre-cut baking paper sheets for convenience.
- Adjust baking timing: Baking paper can help retain moisture in the baking process, so you may need to adjust your baking time and temperature accordingly.
- Avoid high temperatures: While baking paper is typically safe to use in the oven at temperatures up to 425°F, it’s best to avoid using it at very high temperatures for extended periods.
By following these tips, you can ensure your baked goods come out perfectly whenever line your baking tray.
How to prevent sticking?
Even with proper lining, sometimes ingredients can still stick to the tray. Here are some tips to prevent this from happening:
- Use a non-stick baking spray: This can provide an extra layer of protection against sticking.
- Grease the lining material: If you’re using parchment paper, greasing it can help prevent sticking.
- Flour or cocoa powder: Depending on the recipe, dusting the lining material with flour or cocoa powder can also help prevent sticking.
- Cooling before removing: Let your baked goods cool in the tray for a few minutes before attempting to remove them. This will allow them to set and make it easier to lift them out without breaking.
Wrap Up
In conclusion, lining a baking tray is a simple yet essential step in the baking process. It not only prevents your baked goods from sticking to the tray but also makes cleanup easier.
There are various methods you can choose from including using branded parchment paper, baking paper and silicone baking mats. The choice of lining method depends on the recipe and personal preference.
Whichever method you choose, following these steps will help ensure your baked goods come out perfectly and that your baking tray remains in good condition for future use.
By taking the time to line your baking tray properly, you’ll enjoy delicious, hassle-free baking experiences.